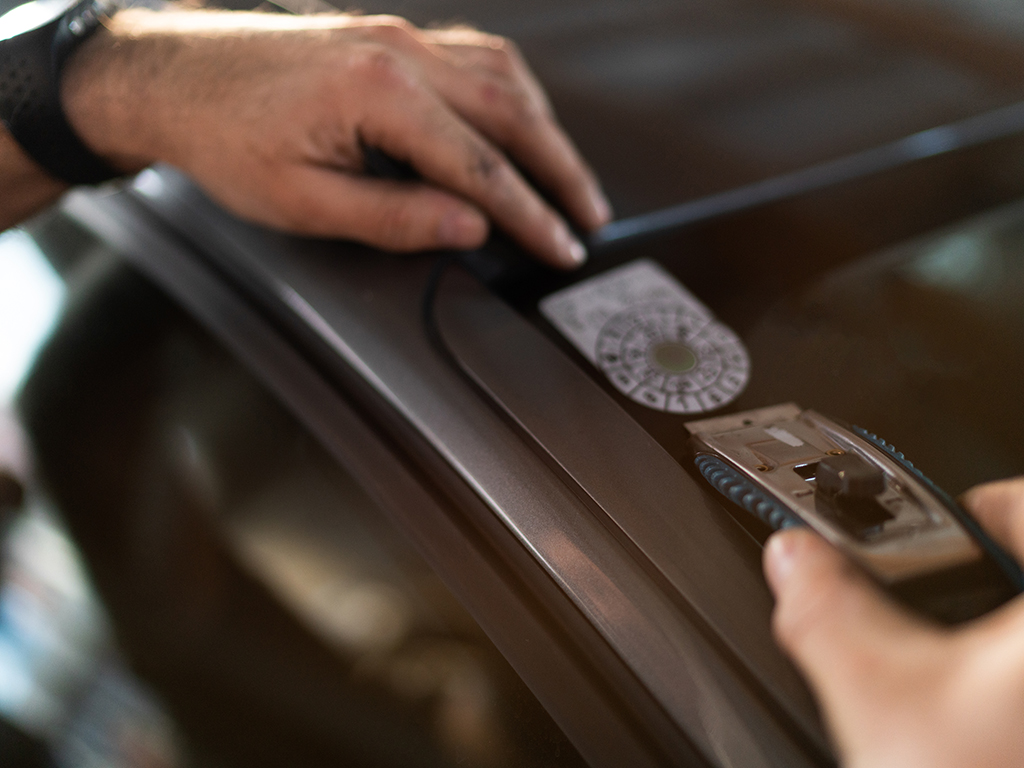
[email protected] | Follow Us:

Triboro
PrintHow To Remove Vinyl Decals From Car

How To Remove Vinyl Decals From Car

Vinyl decals are a popular way to add a personal touch to your car, but as time goes by, you might find yourself wanting a change. Whether it’s to update your car’s look or to prepare it for resale, the process of removing multicolor vinyl decals can be tricky. Fear not, as we’ve compiled a comprehensive guide on how to effectively and safely remove vinyl decals from your car without leaving a sticky residue behind.

Understanding Vinyl Decals

Vinyl decals, a popular form of automotive and personal customization, are adhesive graphics or designs cut from vinyl sheets. These decals are versatile and come in various shapes, sizes, and colors, can be clear coated or not, allowing car owners to express their individuality or promote personal brands. Vinyl decals adhere firmly to surfaces, making them an ideal choice for vehicles. The durable nature of vinyl ensures that these decals withstand exposure to the elements, maintaining their vibrant appearance over time. While they add flair to a car’s aesthetics, the need for removal may arise due to changing preferences, updating promotional materials, or preparing the vehicle for resale. Knowing how to properly remove vinyl decals is crucial to maintaining the integrity of your car’s exterior while ushering in a fresh look.

REMOVE VINYL DECALS FROM CAR

Step 1: Gather Your Tools

Before you start, gather the necessary tools for the job:

  • Hairdryer or heat gun
  • Plastic razor blade or credit card
  • Adhesive remover or rubbing alcohol
  • Microfiber cloth
  • Car wax (optional)

Step 2: Apply Heat

Using a hairdryer or heat gun, apply heat to the edges of the vinyl decal. The goal is to soften the adhesive underneath, making it easier to peel off without causing damage to the paint.

Step 3: Peel Carefully

Once the vinyl is warmed up, start peeling the decal from one corner. Use a plastic razor blade or a credit card to lift the edge gently. Be patient and peel slowly to avoid tearing the vinyl or leaving adhesive behind.

Step 4: Remove Residue

After peeling off the vinyl, you may be left with adhesive residue on the car’s surface. Apply an adhesive remover or rubbing alcohol to a microfiber cloth and gently rub the residue in a circular motion. This will help dissolve and lift the sticky remnants.

Step 5: Clean the Area

Once the residue is removed, clean the area with a mild soapy water solution to eliminate any remaining cleaner or adhesive. Dry the surface thoroughly with a clean cloth.

Step 6: Wax (Optional)

To restore the shine and protect the paint, consider applying a layer of car wax to the treated area. This step is optional but can enhance the overall appearance of your car.

Tips

  • Avoid using metal razor blades, as they can scratch the paint.
  • Test the adhesive remover or rubbing alcohol in a small, inconspicuous area first to ensure it won’t damage the paint.
  • Work in a well-ventilated area, especially when using adhesive remover.
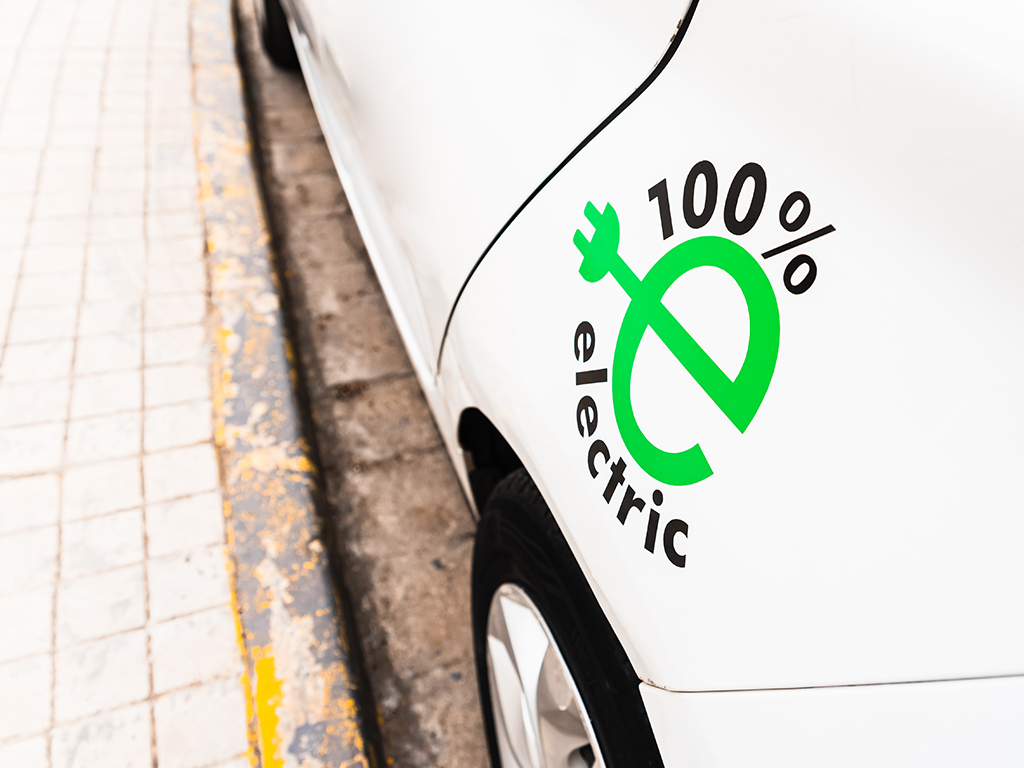
Conclusion

Removing vinyl decals from your car may require a bit of patience, but with the right tools and techniques, you can achieve a clean and polished result. Follow these steps to bid farewell to old decals and give your car a fresh, updated look. Happy peeling!