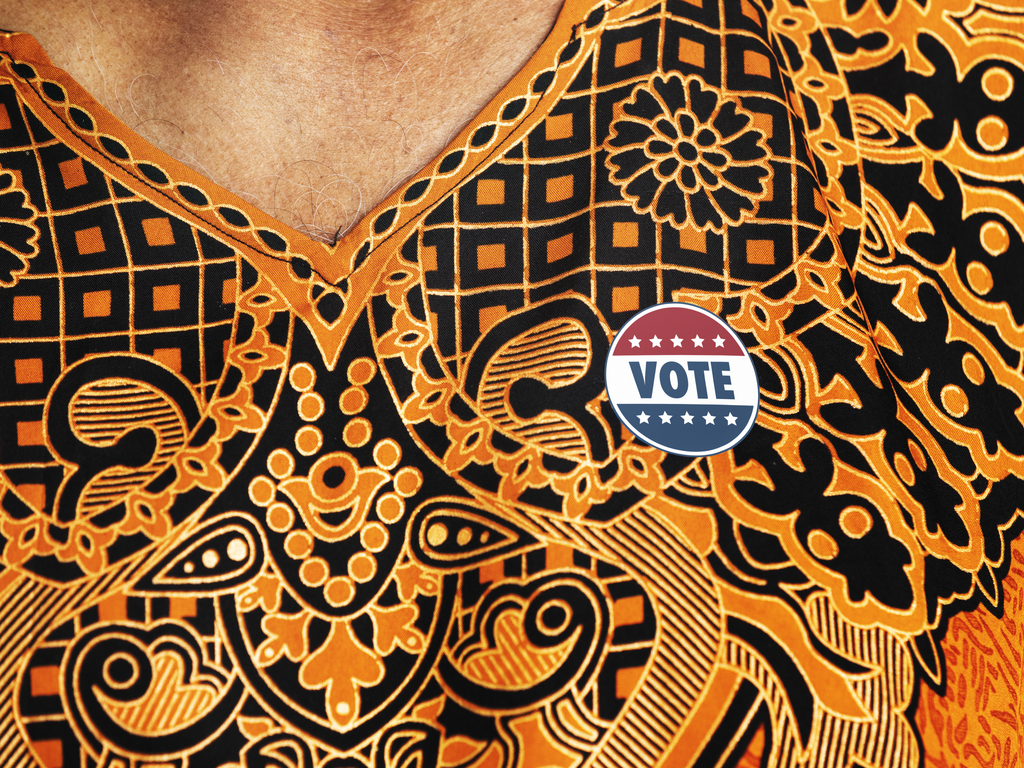
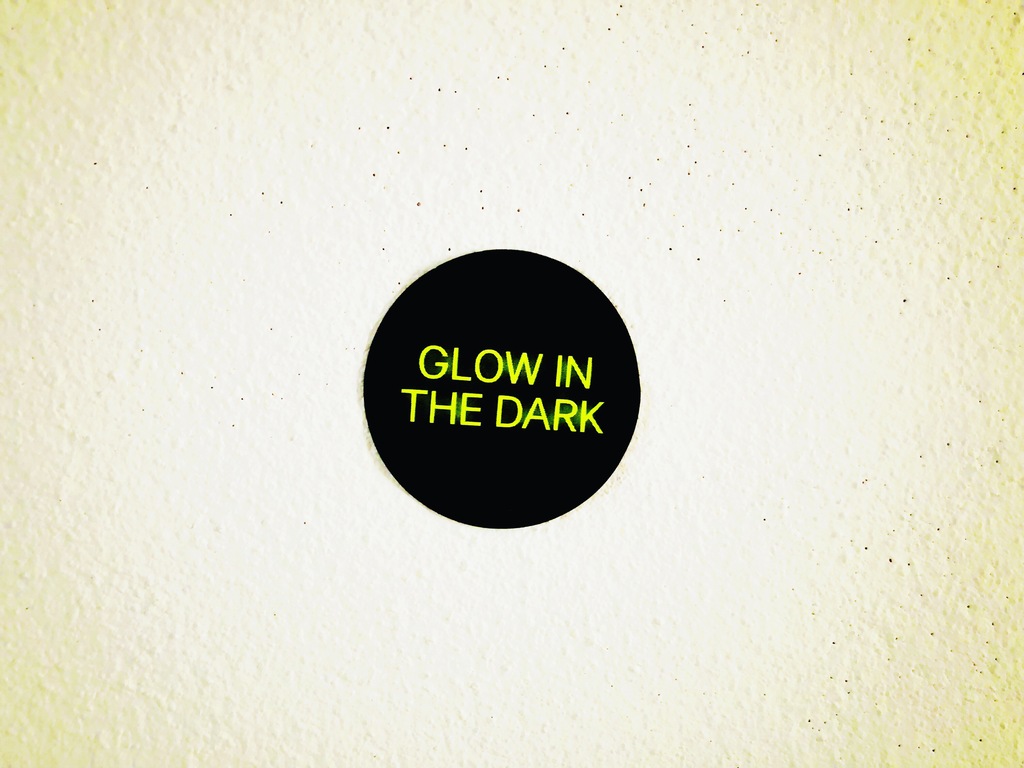
Kiss cut stickers are a popular choice for DIY enthusiasts and small businesses. These stickers are cut through the vinyl layer, but not through the backing paper, allowing for easy peeling and application. In this guide, we’ll show you how to make kiss cut stickers at home easily, with a step-by-step process perfect for beginners.
Materials Needed for DIY Kiss Cut Stickers
Before you start, gather the following materials and tools:
Printable vinyl or sticker paper
Cutting machine (such as a Cricut or Silhouette)
Cutting mat
Design software (like Adobe Illustrator or Cricut Design Space)
Printer
Weeding tool
DESIGNING YOUR KISS CUT STICKERS
Designing your stickers is a crucial step. Use design software to create your artwork. Programs like Adobe Illustrator, Photoshop, or the software provided with your cutting machine, such as Cricut Design Space or Silhouette Studio, are great for this purpose. Ensure your designs are clear and vibrant to make your stickers stand out.
PREPARING YOUR CUTTING MACHINE
Set up your cutting machine according to the manufacturer’s instructions. Load the cutting mat with your printable vinyl or sticker paper. Adjust the blade depth and pressure settings to ensure it cuts through the vinyl layer without penetrating the backing paper.
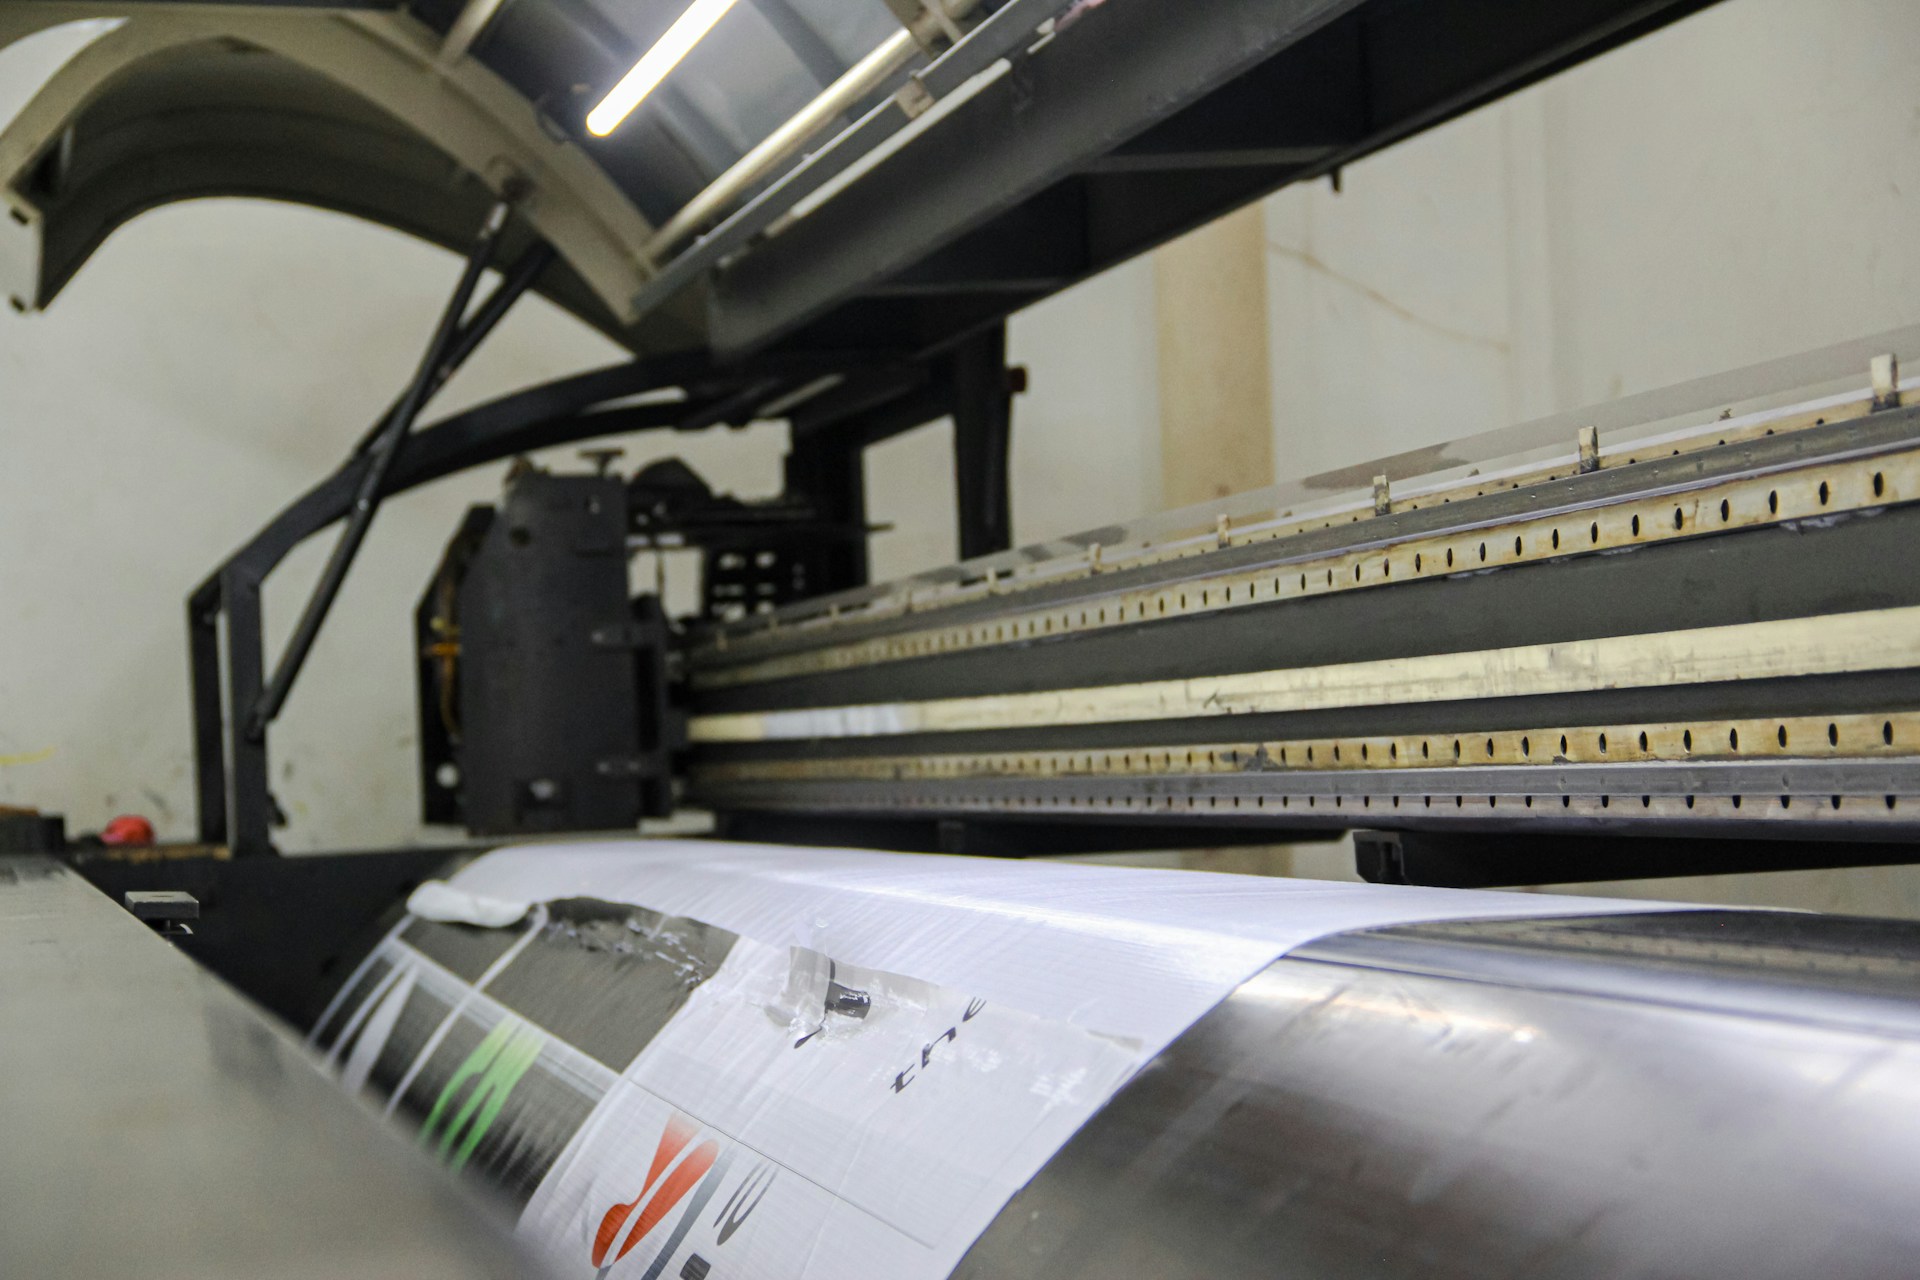
PRINTING YOUR STICKER DESIGNS
Print your designs onto your sticker paper using a high-quality printer. Make sure to use the correct print settings for the best color accuracy and resolution. Allow the ink to dry completely before proceeding to the next step.
CUTTING YOUR STICKERS
Place the printed sticker paper onto the cutting mat and load it into your cutting machine. Follow the software prompts to align your design and start the kiss cutting process. The machine will cut the outlines of your designs, leaving the backing paper intact.
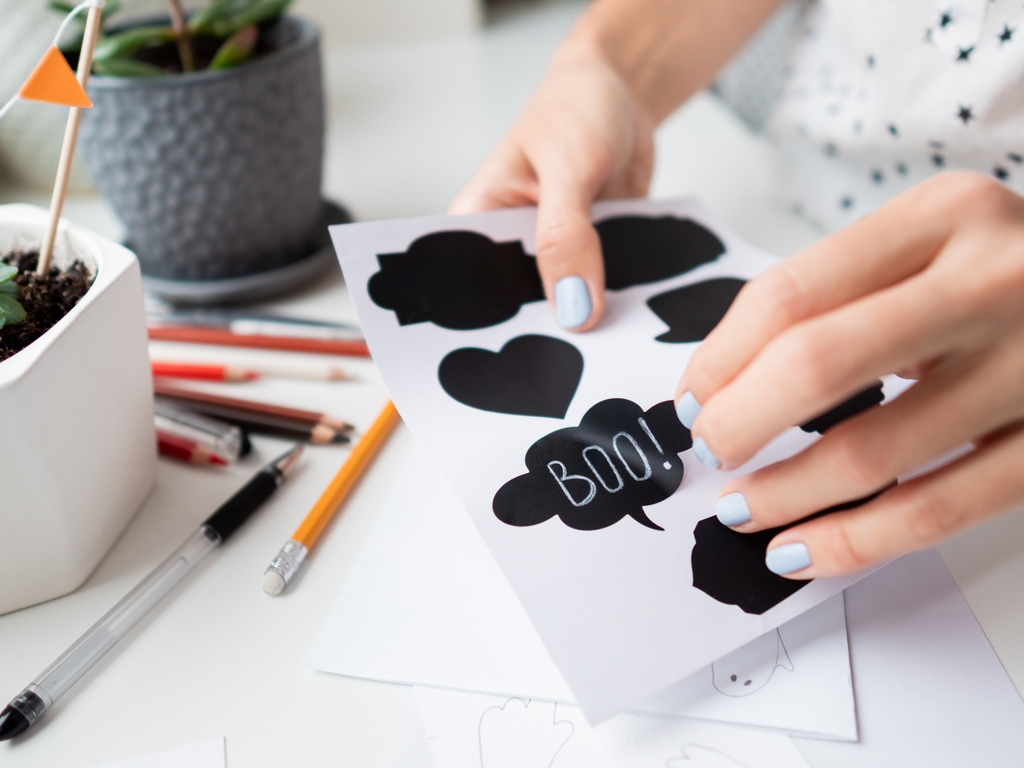
FINISHING TOUCHES
Once the cutting is complete, carefully peel away the excess vinyl around your stickers. Use a weeding tool to help remove any small, intricate pieces. Your kiss cut stickers are now ready to be peeled and applied to any surface.
TROUBLESHOOTING COMMON ISSUES
If you encounter issues during the process, here are some common problems and solutions:
Cutting Through the Backing Paper: Reduce the blade depth and cutting pressure settings.
Incomplete Cuts: Increase the blade depth or make multiple passes with the cutting machine.
Ink Smudging: Allow more time for the ink to dry, or use a printer with quick-drying ink.
CONCLUSION
Making kiss cut stickers at home is a fun and rewarding project. With the right materials and tools, you can create professional-quality stickers for personal use, gifts, or even to sell. Start your DIY kiss cut sticker journey today and unleash your creativity!
For high-quality printing supplies and equipment, consider checking out Triboro Printing. They offer a wide range of products to meet all your printing needs, ensuring your DIY projects look their best.