How to make multicolor vinyl decals?
Have you ever gone to a store and seen stylish, multicolored vinyl decals adorning the walls of homes or businesses? You might have wanted to create something like that for yourself but didn’t know how. Well, look no further because this blog post will walk you through everything you need to know in order to create beautiful, unique multicolor vinyl decals. Whether it be for your own home décor or for selling products at craft shows – whatever the purpose may be – this process is sure to bring out your creativity and skills. So grab some material, find a good design inspiration, and get ready to start making your very own eye-catching vinyl decorations!
Gather all the materials you need – vinyl sheets, scissors, computer, printer, and transfer paper
Are you ready to tackle a fun DIY project? Well, get your creative juices flowing and grab all the materials you need! You’ll need vinyl sheets, scissors, your trusty computer, a printer, and some transfer paper to get started. It may seem like a lot, but once you have everything, the possibilities are endless. Whether you want to make a personalized mug, a bumper sticker, or a custom t-shirt, these materials will help you create something unique and special. So, let’s begin and let your imagination run wild!
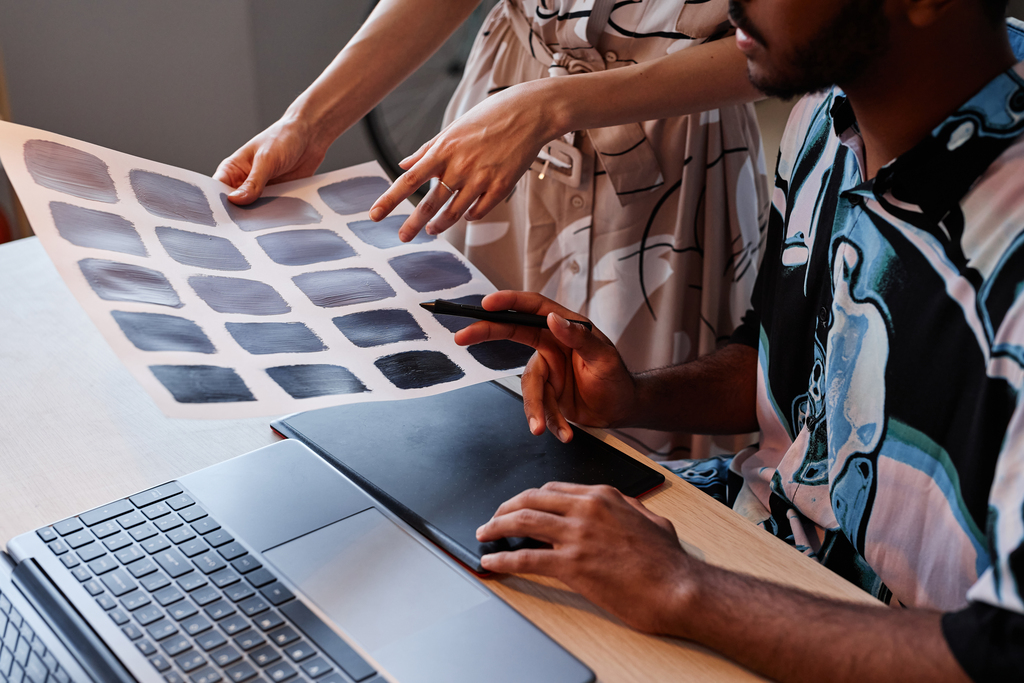
Choose a design to cut out from the vinyl sheet – create a stencil or a template on your computer for more precise results
Are you ready to take your crafting skills to the next level? Look no further than creating stencils and templates for your vinyl sheet designs on your computer. This method allows for precision and accuracy that can’t always be achieved by hand-cutting. Plus, you’ll have the ability to easily replicate your design and make adjustments as needed. Whether it’s a custom design for a shirt or a decorative element for your home, creating stencils and templates is a game-changer that any crafter should try out.
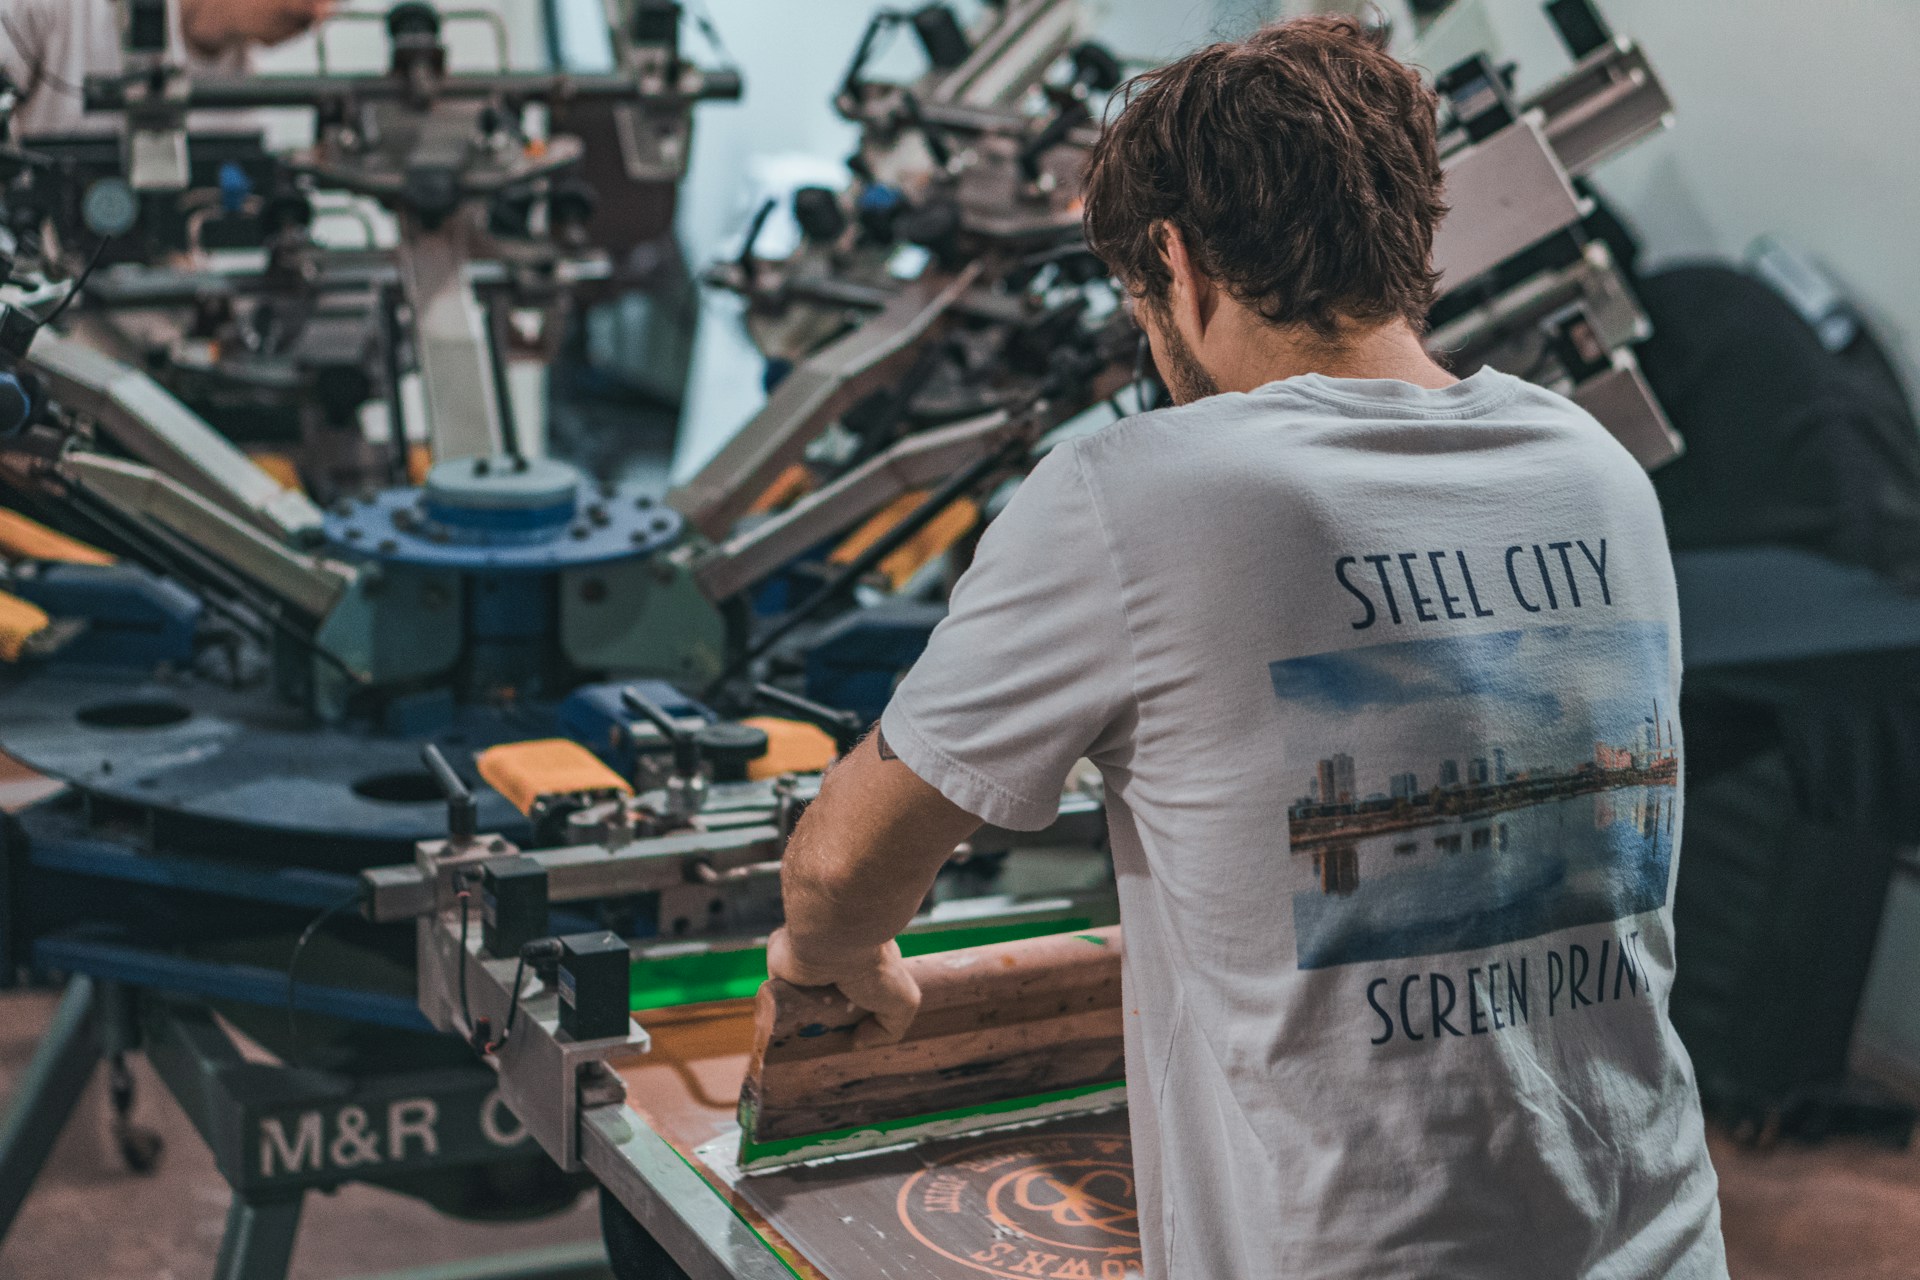
Cut out the design from the vinyl sheet and place it on top of the transfer paper
Have you ever tried creating your own vinyl designs for t-shirts or stickers? It can be a lot of fun to come up with your own unique designs and see them come to life on a tangible product. But the process can seem overwhelming at first. One key step is cutting out the design from the vinyl sheet and placing it on top of the transfer paper. This may seem like a small task, but it requires precision and attention to detail to ensure that the design transfers properly onto your chosen surface. Don’t worry though, with a steady hand and a bit of patience, you’ll be creating impressive vinyl designs in no time!
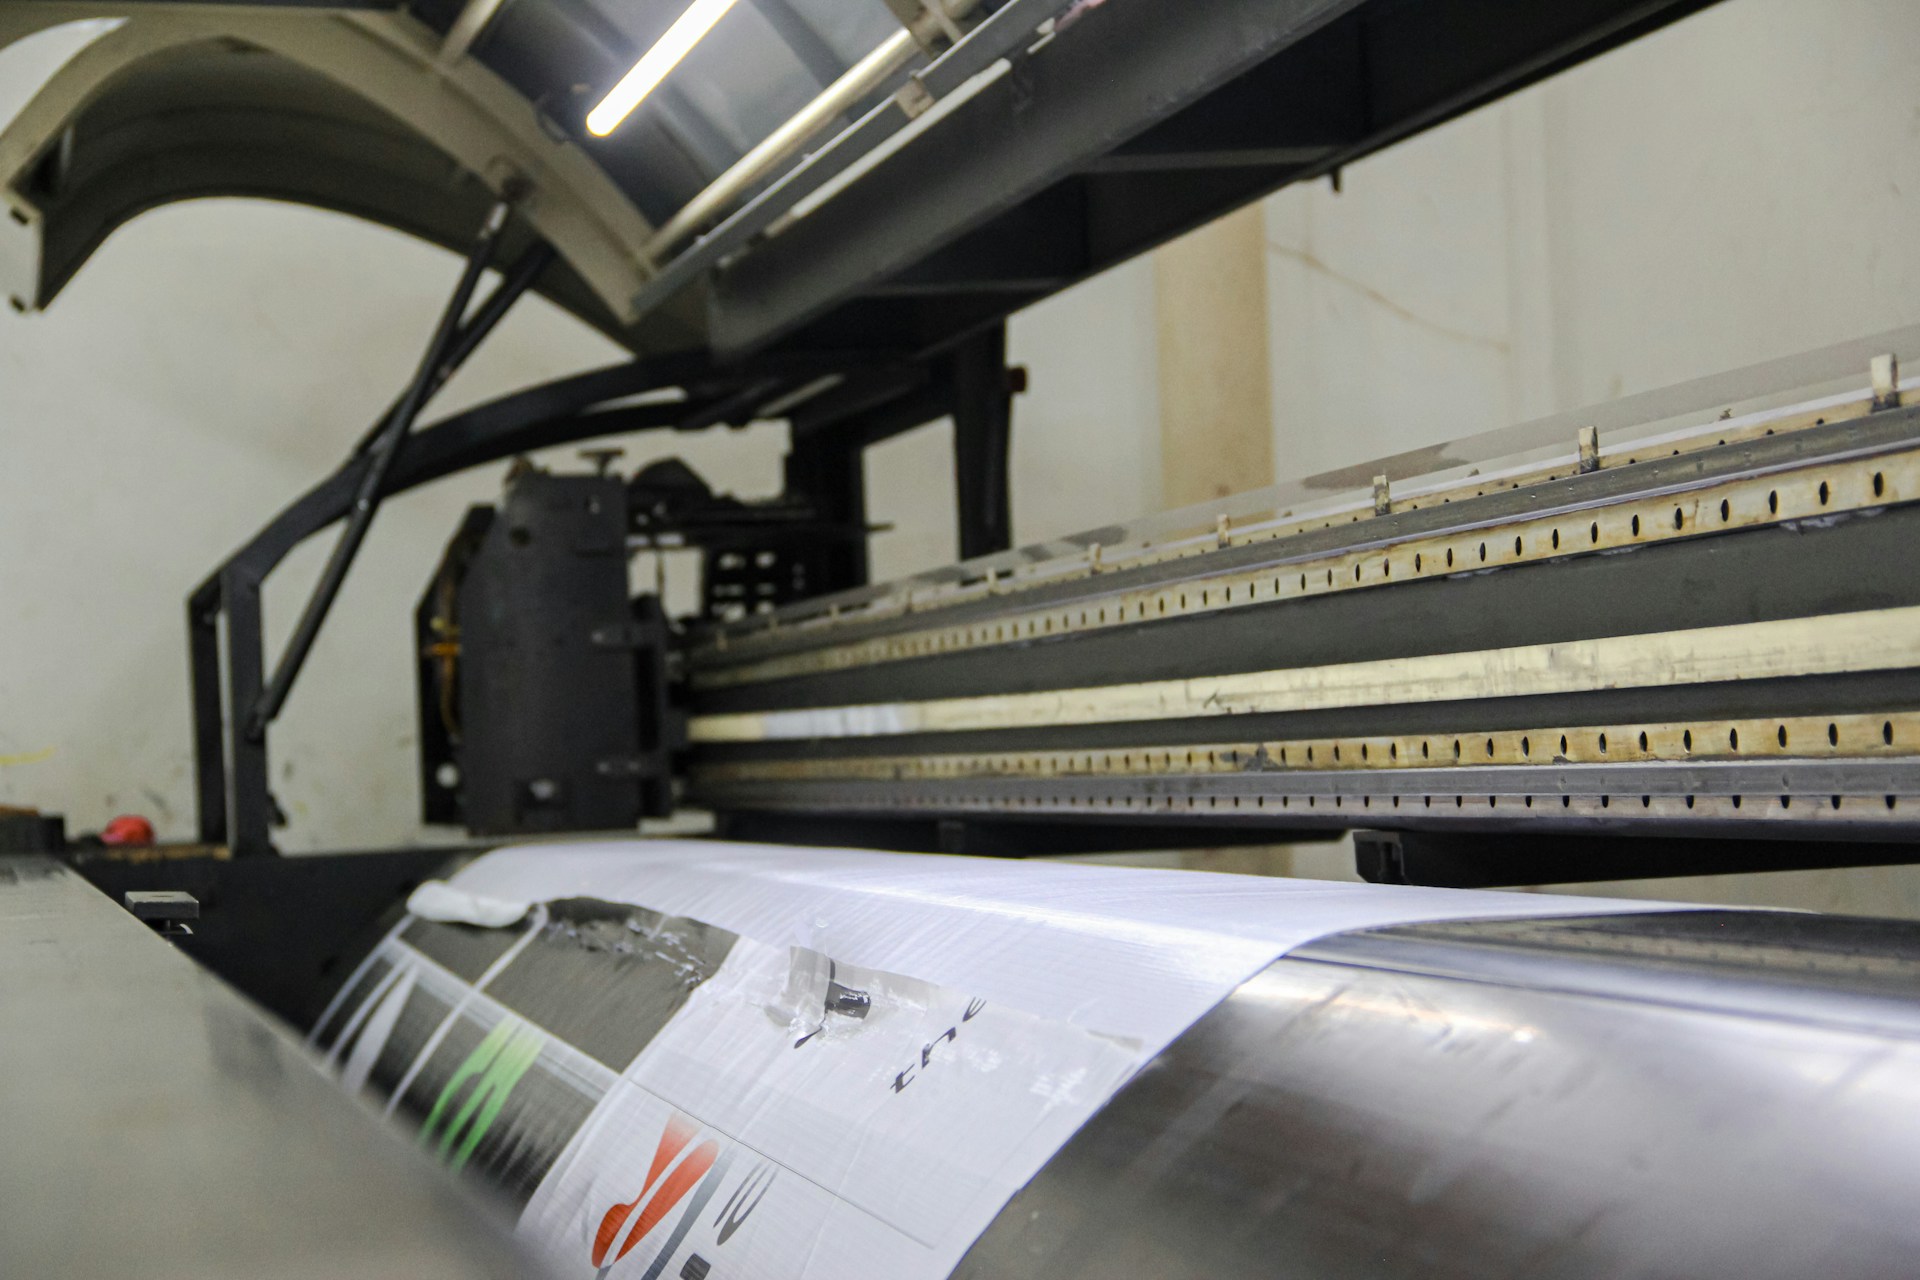
Load up the printer with your chosen colors and print out the design onto the transfer paper
Printing out your desired design onto transfer paper can be a game-changer for your crafting projects. By loading up your printer with the colors you want to represent your design, you’re able to create a transfer that can be ironed onto clothing or other fabrics. Whether you want to customize a t-shirt or create unique, one-of-a-kind accessories, it’s important to choose your colors carefully and ensure that your printer is loaded up correctly. With a little bit of practice, you’ll be amazed at what you can create – all with the help of your trusty printer!
Carefully remove the printed decal from the transfer paper and apply it onto a smooth surface
With your printed decal in hand, it’s time to transfer it onto its final destination. But wait! This process requires some finesse. Carefully peel off the decal from the transfer paper, taking care not to rip or damage any parts of the design. Once you’ve successfully separated the decal from the paper, you can place it onto a smooth surface of your choice. This could be anything from a laptop cover to a vehicle bumper. Take your time with application, smoothing out any air bubbles or wrinkles as you go. With a little patience and attention to detail, you’ll have a beautiful decal that’s ready to impress.
Seal your work with a clear coat so that it will last longer without fading or peeling off
When it comes to crafting or DIY projects, putting in all that effort just to have it fade or peel over time is frustrating. That’s where a clear coat comes in. By applying a sealant over the top of your work, you’re ensuring that it will last for years to come. Not only will it protect against fading from the sun, but it will also prevent any scratches or chips from ruining your hard work. It’s a small step that can make a big difference in the longevity and quality of your project. So, next time you’re finishing up a painting or revamping an old piece of furniture, don’t forget to give it that final touch of protection with a clear coat.
Crafting projects are meant to be enjoyable and fulfilling. If you’ve been looking into creating your own custom decals, there’s no reason why you shouldn’t give it a try! With a few simple steps, you can create beautiful, personalized decals that make any item stand out. Gather the materials that you need, cut out your design from the vinyl, and then apply it to the surface of your choice. By using transfer paper and clear coat sealant, your decal will remain vibrant for years to come. So go ahead – have fun crafting and bring life to whatever item you want to customize!