
How to Design and Order Custom Banners for Your NYC Business: A Step-by-Step Guide
Custom banners can help NYC businesses promote an opening, announce an offer, identify a location, support an event, or create visibility around a temporary campaign. But choosing the right material and creating an effective design requires more than simply adding a logo to a large sheet.
Location, viewing distance, weather exposure, installation method, and the amount of information all affect the final result.
This guide explains how to plan, design, prepare, order, and maintain a custom banner for a New York City business.
Step 1: Define Your Banner’s Purpose and Placement
Start by deciding what the banner needs to accomplish and where it will be displayed.
Ask yourself:
- What is the main message?
- Who needs to see it?
- Will people view it from the sidewalk, a vehicle, or inside a venue?
- How long will it be displayed?
- Will it be indoors or outdoors?
- How will it be installed?
A storefront banner may need to communicate a short promotional message to pedestrians, while a construction-site banner may need to remain visible from a greater distance.
The installation location also matters. Outdoor banners can be exposed to wind, rain, sunlight, temperature changes, and repeated movement, so the material and finishing should suit the environment.
Step 2: Choose the Right Size and Material
There is no single banner size that works for every location. Measure the available space before ordering and consider how far away the audience will be.
Common formats include:
- 3 × 6 feet
- 4 × 8 feet
- Larger custom dimensions for building facades, fences, events, and other applications
Your printer can also help you choose the right dimensions based on the installation area.
What Banner Material Should You Choose?
The right substrate depends on where and how you’ll use the finished graphic.
Vinyl banners are a common option for many indoor and outdoor applications. They provide a solid surface for graphics and can be finished with grommets, hems, or other attachment options.
Mesh banners contain small perforations that allow some air to pass through. They can be useful in locations where wind exposure is a concern, although the appropriate material still depends on the installation and site conditions.
Fabric banners can suit indoor displays, events, backdrops, and applications where a softer appearance is preferred.
Rather than choosing a material based only on price, consider exposure, viewing conditions, installation, expected use, and how often the graphic will be handled.
Step 3: Design Your Banner for Easy Reading
A large-format graphic doesn’t need to include every detail about your business. The most effective layouts usually give the main message enough space to be noticed quickly.
Keep the Message Short
Focus on one primary message. Depending on the purpose, this could be:
- Grand Opening
- Seasonal Sale
- Event Information
- Business Name and Location
- Website or QR Code
- Short Call to Action
Avoid filling the entire area with paragraphs of text. People may only have a few seconds to see the banner.
Create a Clear Visual Hierarchy
Make the most important information the easiest to notice.
Your headline should generally be more prominent than supporting details. Contact information, dates, URLs, and other secondary information can be smaller as long as they remain readable from the intended viewing distance.
Use Strong Contrast
Text needs sufficient contrast against its background. Avoid placing small text over complicated photographs or patterns.
You can incorporate your brand colours into the design, but readability should remain the priority.
Use Images and Logos Carefully
Use high-resolution artwork and make sure logos remain sharp at the final size. Avoid enlarging small, low-resolution images too much, as they may look blurry or pixelated.
Leave Enough Empty Space
Do not feel obligated to fill every part of the banner. Space around text and graphics can make the overall layout easier to scan.
Step 4: Prepare Your Artwork for Production
Before submitting the design, check the printer’s file requirements.
Common considerations include:
- Final dimensions
- File format
- Image resolution
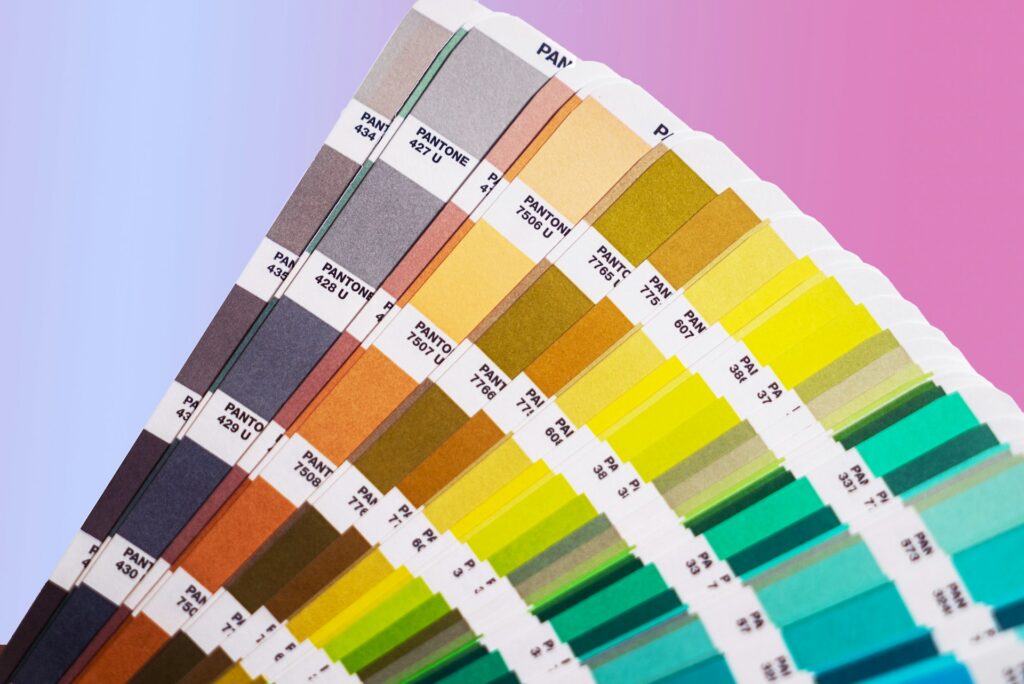
- Colour settings
- Bleed, if required
- Safe areas for important text and logos
- Correct orientation
- Finishing and hardware requirements
There is no universal resolution requirement for every large-format project. The appropriate resolution depends partly on the finished size and viewing distance, so follow your printer’s specifications rather than automatically applying a 300 DPI rule to every banner.
For colour preparation, check the printer’s preferred workflow. If you are unsure whether your artwork is correctly prepared, ask for the printer’s file specifications before exporting the final file.
A proof can also help you catch layout, spelling, colour, and sizing issues before production.
Step 5: Choose a Banner Printer in NYC
When comparing printing providers, look beyond the advertised price.
Consider:
- Whether they produce the required size and material
- Whether they provide artwork guidance
- Available finishing options
- Whether installation is available
- Proofing procedures
- Expected turnaround
- Pickup or delivery options
- Experience with the type of project you need
A local NYC provider can also be useful when the project involves a specific installation location or requires coordination between production and installation.
Triboro Printing provides banner and poster printing services in New York City, along with other printing and signage solutions.
Step 6: Select the Right Finishing and Installation Method
The banner material is only part of the finished product. How it will be attached should be considered before production.
Grommets
Grommets are reinforced holes placed around the edge of a banner. They can be used with suitable ropes, cords, hooks, or other attachment hardware.
Reinforced Hems
A reinforced edge can provide additional strength around areas that experience tension during installation.
Pole Pockets
Pole pockets create a sleeve for a compatible pole or support structure and can be useful for certain display systems.
Wind Slits
For some outdoor applications, strategically placed wind slits can reduce wind load. Whether they are appropriate depends on the material, size, location, and installation method.
If the banner will be installed at height or in a difficult-to-access location, professional installation may be safer and more practical than attempting it yourself.
Step 7: Install and Maintain Your Banner
Installation should match the material and hardware being used.
For outdoor displays:
- Make sure the attachment points are secure.
- Avoid positioning the material against sharp edges.
- Check mounting hardware periodically.
- Inspect the banner after severe weather.
- Remove or secure it if conditions exceed what the installation was designed to handle.
For cleaning, follow the material manufacturer’s recommendations. In many cases, gentle cleaning with mild soap and water is preferable to harsh chemicals or abrasive tools.
How Long Do Custom Banners Last Outdoors?
There is no universal lifespan for an outdoor banner.
Durability can depend on:
- Material construction
- Print technology and inks
- Sunlight and UV exposure
- Wind and weather
- Installation method
- Frequency of handling
- Cleaning and maintenance
- Storage conditions
A banner displayed in a sheltered location may experience very different conditions from one exposed to direct sunlight and strong winds every day.
If longevity is important, tell your printer where the banner will be installed and how long you expect to use it. That information can help determine a suitable material and finishing approach.
How Much Do Custom Banners Cost?
Custom banner pricing varies by project. Size, material, quantity, artwork preparation, finishing, installation, and turnaround can all affect the final price.
For an accurate quote, provide the printer with:
- Finished dimensions
- Quantity
- Indoor or outdoor use
- Preferred material, if known
- Artwork status
- Finishing requirements
- Installation requirements
- Required deadline
This gives the printer enough information to recommend an appropriate production option rather than quoting based on size alone.
Can You Design a Custom Banner Without Professional Design Software?
Yes. Tools such as Canva and Adobe Express can help you create basic layouts, as long as the final artwork meets the printer’s specifications.
For more complex projects, professional design software can provide greater control over dimensions, typography, images, colour, and file preparation.
If you are unsure whether your file is production-ready, ask the printer to review it before placing the order.
Final Thoughts
Designing a custom banner starts with the location and purpose, not the artwork itself. Once you know where the graphic will be displayed and who needs to see it, you can choose an appropriate size, material, message, finishing method, and installation approach.
Keep the design easy to read, prepare the artwork according to your printer’s specifications, and consider the conditions the finished banner will face.
If you need custom banner printing in NYC, Triboro Printing can help with your printing requirements and advise you on suitable options for your project.