Vinyl decals offer a fantastic way to personalize and enhance the aesthetic appeal of your car. Whether you’re looking to display a favorite graphic, support a cause, or add a touch of personality, applying vinyl decals can be a rewarding DIY project. In this comprehensive guide, we’ll walk you through the step-by-step process of how to flawlessly apply vinyl decals to your car, ensuring a professional-looking finish.
What is Vinyl Decals
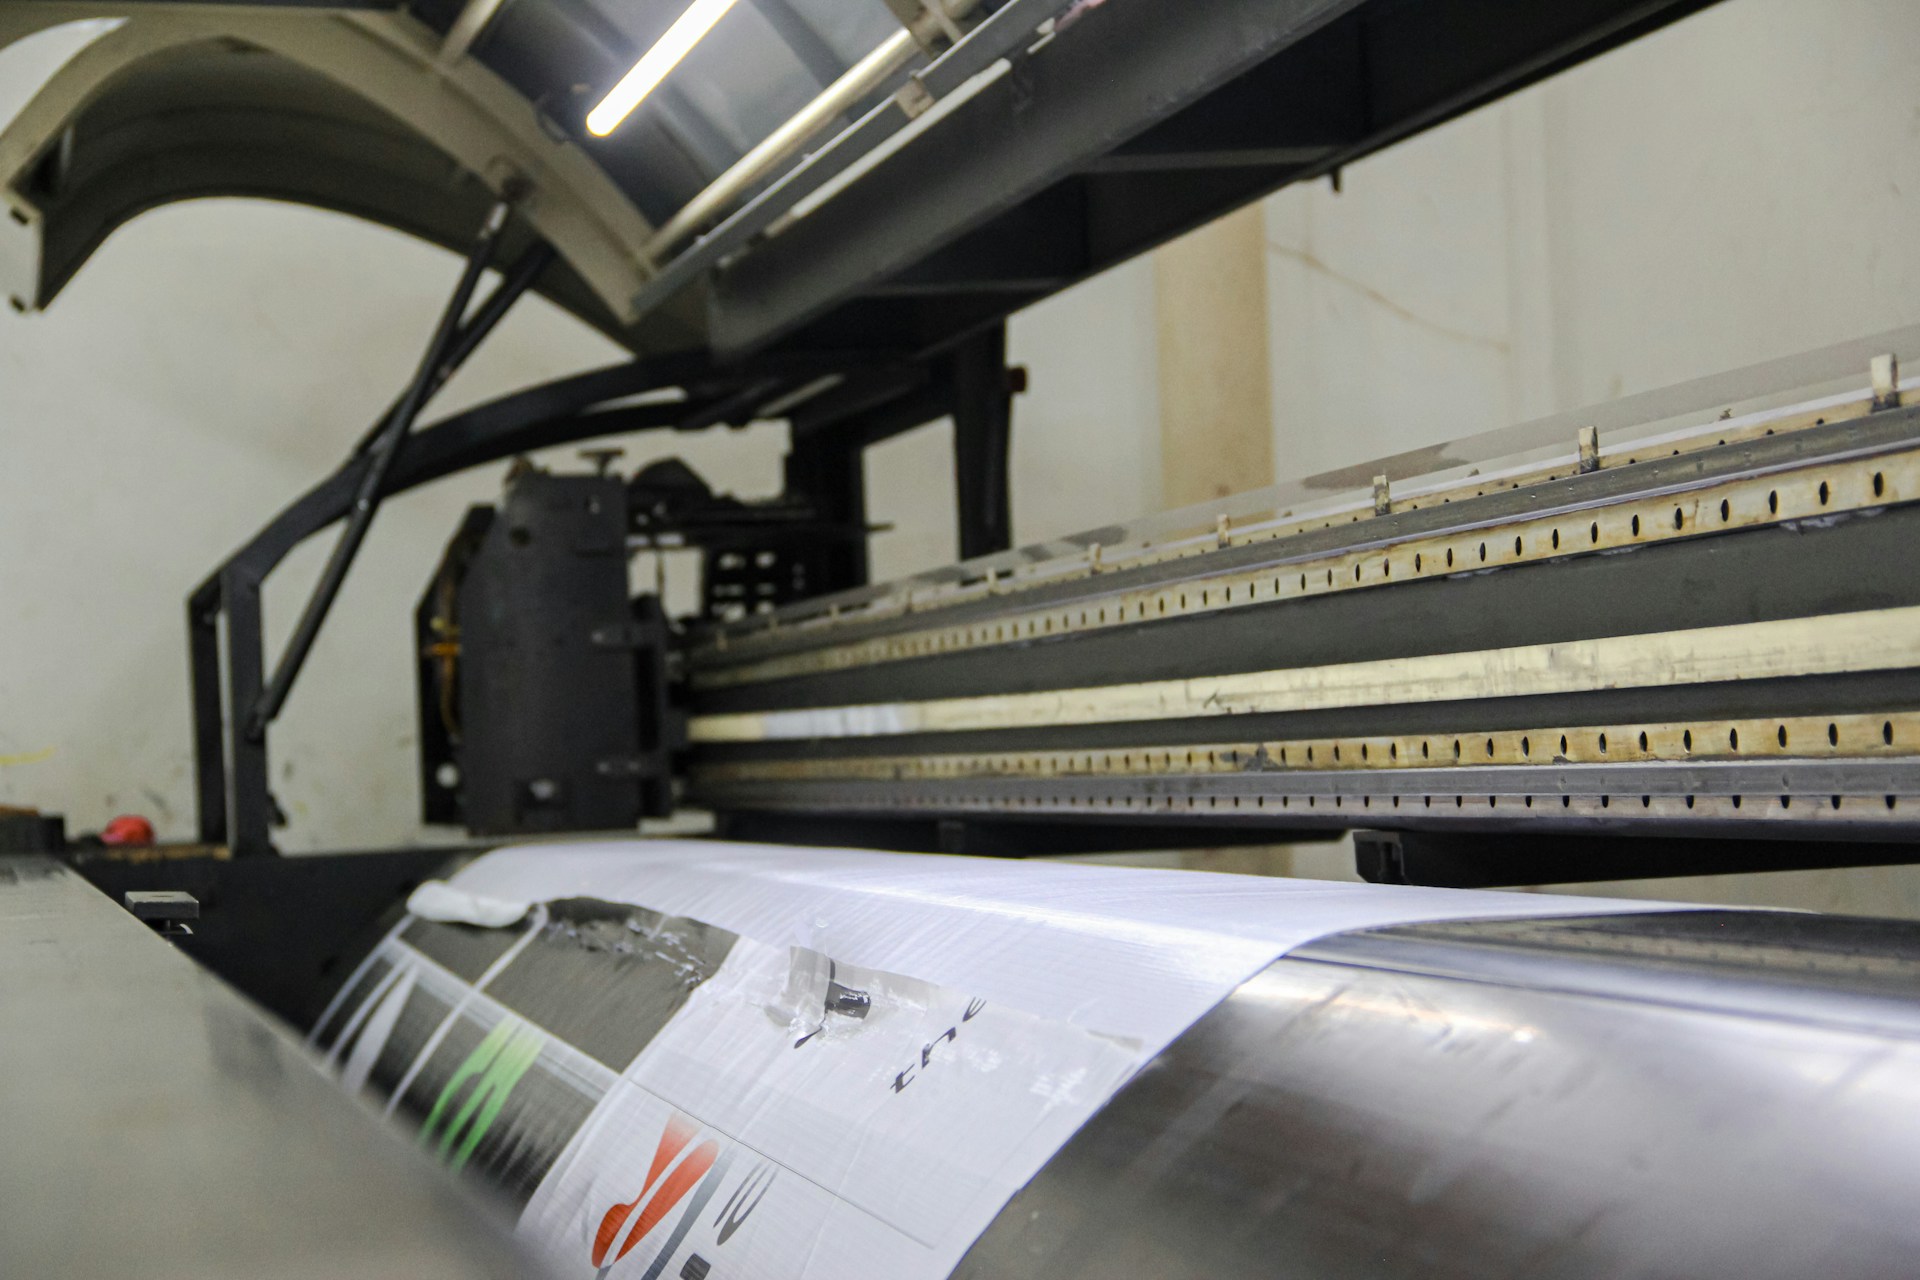
Vinyl decals, the creative medium of self-expression, are adhesive graphics or designs crafted from durable vinyl material. These versatile decals come in an array of styles, sizes, and colors, allowing car enthusiasts to showcase their personality, interests, or even business branding on their vehicles. Designed for longevity and resilience against weather elements, vinyl decals offer a customizable touch that can transform any car into a unique work of art. In this guide, we’ll not only explore the step-by-step process of applying vinyl decals to your car but also delve into the versatility and creativity that these adhesive graphics bring to automotive customization.
Step 1: Gather Your Supplies
Before you start, ensure you have all the necessary tools and materials:
Vinyl decal
Cleaning solution (isopropyl alcohol or mild soapy water)
Squeegee or credit card
Masking tape
Measuring tape or ruler
Scissors or craft knife
Microfiber cloth
Step 2: Clean the Surface
Clean the area where you plan to apply the vinyl decal thoroughly. Use a cleaning solution like isopropyl alcohol or mild soapy water to remove any dirt, wax, or residue. Dry the surface with a microfiber cloth to ensure a smooth application.
Step 3: Position and Secure with Masking Tape
Position the vinyl decal on the car surface using masking tape as a temporary guide. Step back and double-check the placement to ensure it’s centered and aligned as desired.
Step 4: Peel and Stick
Carefully peel off the backing paper from the vinyl decal, exposing the adhesive side. As you peel, ensure the decal remains attached to the transfer tape. Avoid touching the adhesive side with your fingers.
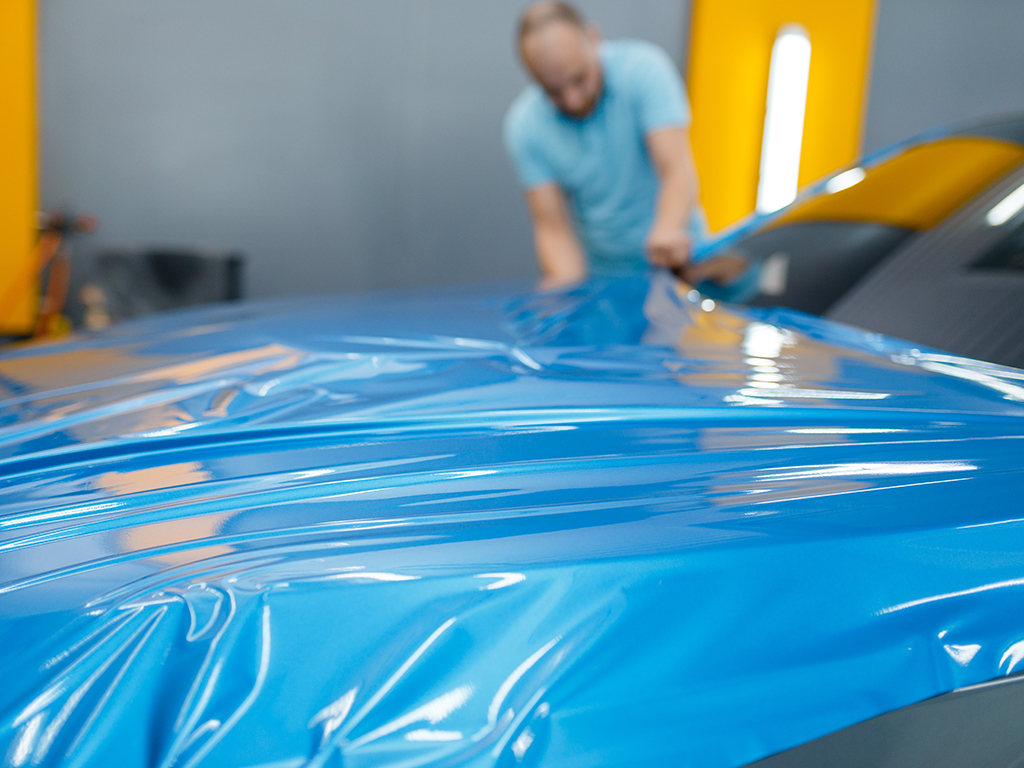
Step 5: Apply the Decal
Align the vinyl decal with the marked position on your car. Once satisfied with the placement, press the decal onto the surface using a squeegee or credit card. Work from the center outwards to eliminate air bubbles and ensure a smooth adhesion.
Step 6: Remove Transfer Tape
Slowly peel away the transfer tape at a sharp angle, leaving the vinyl decal adhered to the car surface. If any part of the decal starts to lift, press it back down and use the squeegee to smooth it out.
Step 7: Final Checks
Inspect the applied vinyl decal for any air bubbles or imperfections. If needed, gently lift the affected area and smooth it out with the squeegee. Allow the decal to set and adhere completely.
Conclusion
Applying vinyl decals to your car is a fun and creative way to make a statement on the road. By following these step-by-step instructions, you’ll master the art of achieving a flawless application, turning your vehicle into a canvas for personal expression. Get ready to turn heads with your professionally applied vinyl decal! Read also how to remove vinyl decals