how to print photos on glass?
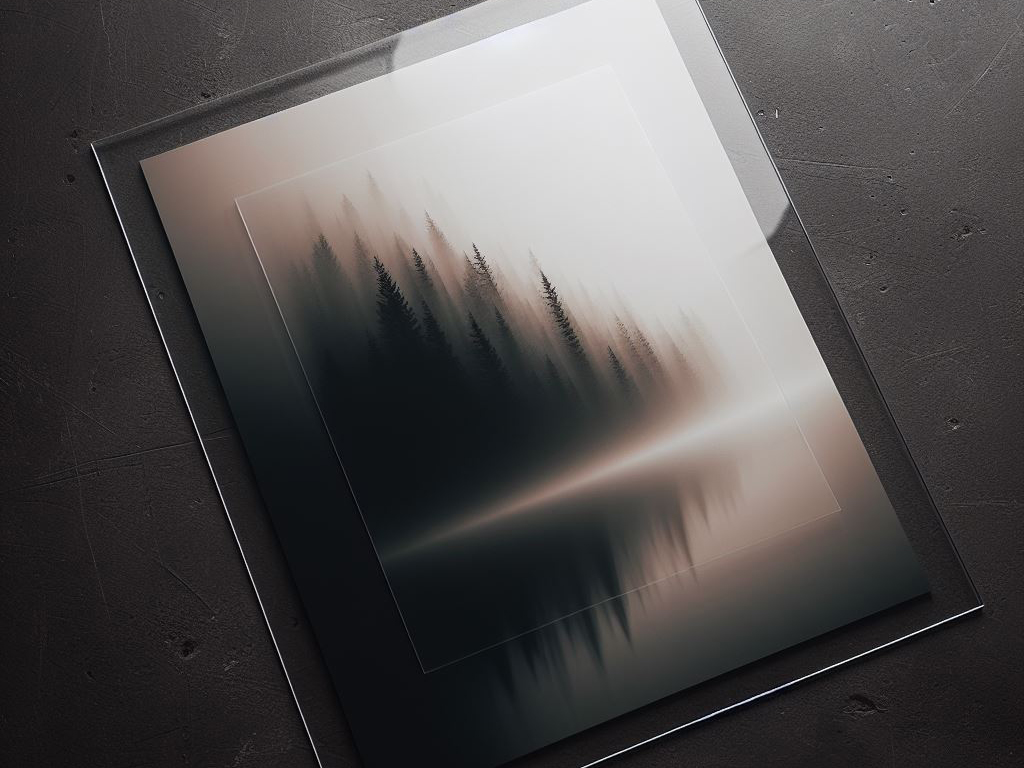
Printing photos on glass is an innovative way to preserve and display your cherished memories with a sleek, modern aesthetic. This method has gained popularity among photographers, interior designers, and anyone looking to add a touch of elegance to their home or office decor. The process of printing on glass offers vibrant colors, sharp details, and a durable finish, making it an attractive alternative to traditional paper or canvas prints. But can you really print photos directly on glass? Let’s dive into the details.
Can You Print Photos on Glass?
Yes, you can print photos on glass. This advanced printing technique involves transferring a photographic image onto a glass surface, creating a stunning visual effect. The technology behind this process has evolved significantly, allowing for high-resolution, full-color images to be printed with precision and clarity. Glass prints are known for their durability, resistance to fading, and the unique depth they add to images, making them a favored choice for both personal and professional display purposes.
How Do You Print Photos on Glass? 7 Steps
Printing photos on glass involves a meticulous process that ensures the final product is both beautiful and long-lasting. Here’s a step-by-step guide to understanding how this process works:
Step 1: Choose the Right Type of Glass
The first step involves selecting the appropriate type of glass for printing. The glass should be clean, smooth, and free of imperfections. Most professionals use tempered glass due to its strength and safety features.
Step 2: Prepare the Image
Preparing the image is crucial. This includes adjusting the resolution, color correction, and sizing the image appropriately to fit the glass surface. It’s important to use high-resolution images for the best clarity and detail.
Step 3: Apply a Special Coating
Before printing, the glass surface must be treated with a special coating that helps the ink adhere to the glass. This coating is essential for ensuring the durability of the print and preventing fading.
Step 4: Use UV Flatbed Printer
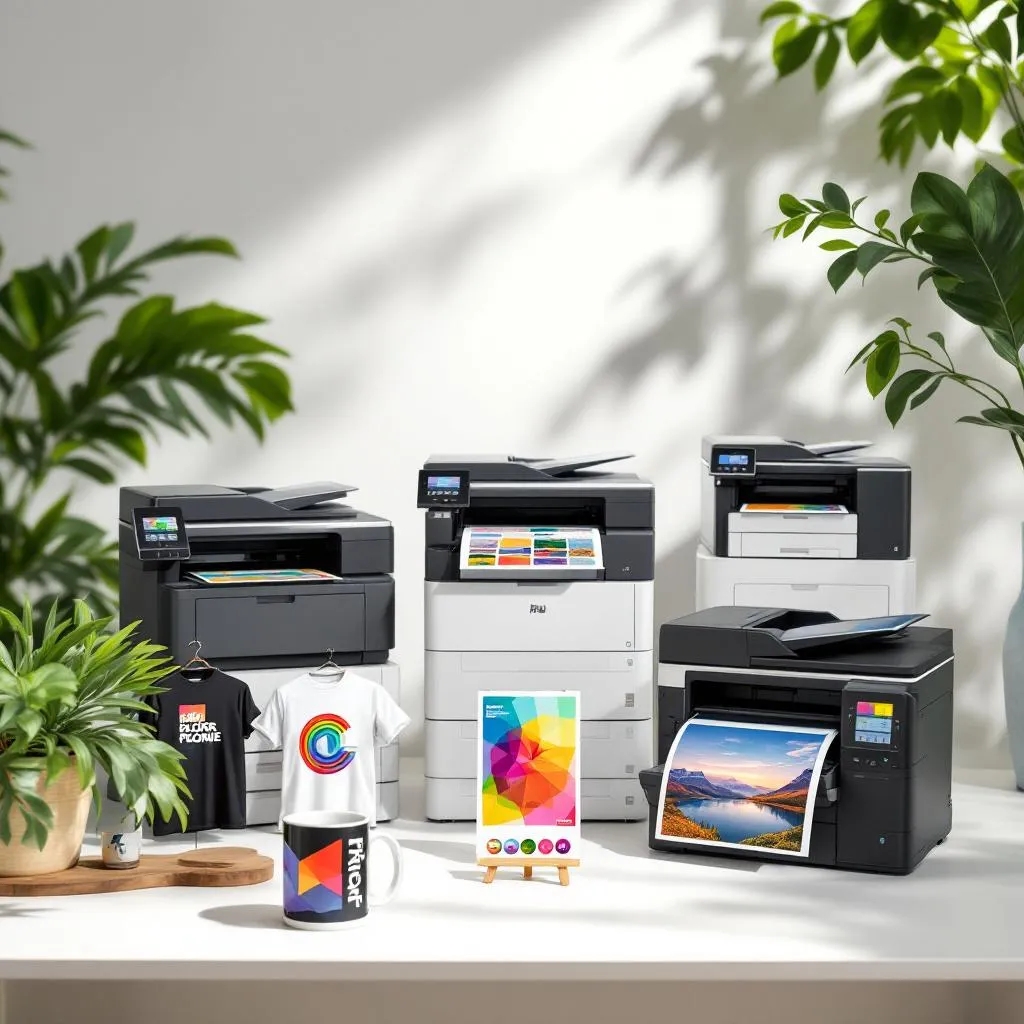
The actual printing is done using a UV flatbed printer, which cures the ink instantly with UV light as it’s applied, allowing for vibrant colors and sharp details. This type of printer can directly print onto the glass surface.
Step 5: Curing the Ink
After printing, the ink must be fully cured. This process is usually accelerated by exposing the glass to UV light, which ensures the ink is completely set and the print is durable.
Step 6: Adding a Protective Layer
Optionally, a protective layer or laminate can be applied over the print. This step enhances the durability of the glass print and protects it from scratches and damage.
Step 7: Final Inspection and Cleaning
The final step involves a thorough inspection of the printed glass for any imperfections and a careful cleaning to remove any dust or fingerprints. This ensures the print is ready for display.
Conclusion
Printing photos on glass is a remarkable technique that combines modern technology with artistic expression. The process, though intricate, results in stunning displays that bring images to life in a way that traditional mediums cannot match. Whether for personal keepsakes, art exhibits, or professional signage, glass photo prints offer a unique and sophisticated way to showcase your photographs. With the right equipment, expertise, and attention to detail, companies like Triboro Printing can transform any image into a lasting piece of glass art. Their experience in handling such sophisticated printing processes ensures that every detail of your image is captured and presented with the utmost clarity and vibrancy, making it a perfect choice for anyone looking to elevate their photographic displays.


