Step 1
Choose the Right Surface Start by selecting a flat and clean surface to work on. A table or a clean floor space will work well. Ensure there’s enough room to lay out your poster without any obstructions.
Step 2
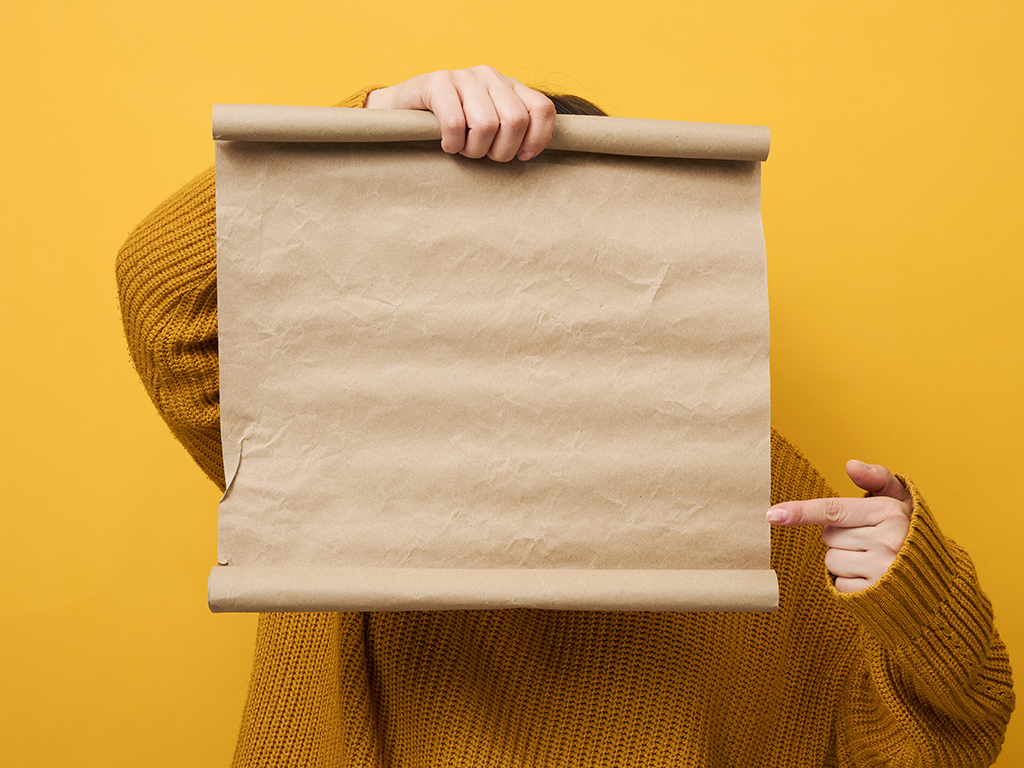
Unroll the Poster Carefully unroll your poster and lay it flat on the chosen surface. If the poster has been rolled for an extended period, it may be stubbornly curled. Gently reverse the curl with your hands to make it easier to flatten.
Step 3
Use Heavyweight Books or Flat Objects Place heavyweight books or other flat, heavy objects along the edges of the poster. This will help prevent the corners from curling up and promote an even flattening process. Ensure that the weights are distributed evenly across the poster.
Step 4
Add a Protective Layer (Optional) For valuable or delicate posters, consider placing a layer of acid-free tissue paper or parchment paper between the poster and the weights. This extra layer helps protect the poster from potential damage while still allowing for effective flattening.
Step 5
Wait Patiently Allow the poster to sit undisturbed for at least 24 to 48 hours. This time allows the paper fibers to relax and settle into a flat position. For particularly stubborn curls, you might need to leave the weights on for a longer period.
Step 6
Check for Progress After the waiting period, carefully remove the weights and inspect the poster. If it’s not completely flat, repeat the process or consider using a slightly heavier object for better results.
Step 7
Finishing Touches Once your poster is flat, use a clean cloth to remove any dust or particles that may have accumulated during the flattening process. Your poster is now ready to be framed, hung, or displayed as you wish. We’ve previously written about ways to hang a poster.
Conclusion
Flattening a poster may require a bit of patience, but the results are well worth the effort. By following these simple steps, you can ensure that your posters look pristine and professional when displayed, allowing your favorite artwork or promotional materials to shine. Happy flattening!